For behind the scenes and fashionable fun, follow me on Instagram!
I have been seeing and wearing tons of awesome spring hats this year. Here is fun DIY where you can learn how to personalize your hats.
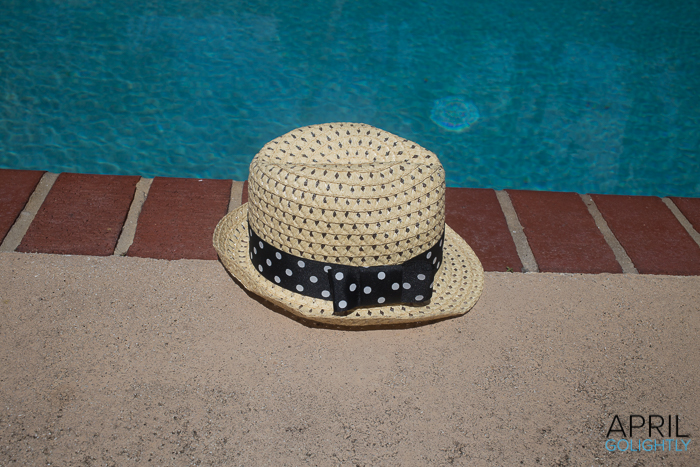
DIY Hat Bow Band Tools & Supplies
Hat
Ribbon
Scissors
Ruler
Measuring Tape
Fabric Glue
DIY Hat Bow Band Instructions
Gather supplies. You will need ribbons of various lengths scissors, a glue gun (or fabric glue) and a ruler.
Measure the hat break where the hat band will go using the measuring tape. Cut a piece of ribbon 1 inch longer than the break.
Cut these ribbon pieces: 7 inch and 2 inch.
Make your bow. It’s easy! Just make a circle with the 7″ ribbon and glue the ends. Then pinch and glue the middle. Finally, use the small 2″ piece to wrap around the middle and glue it in place. These might need to be longer depending how thick your ribbon is.
Glue the hat break ribbon together placing 1 inch of ribbon over the other side. Once this is dried, check to make sure it fits. If you are not sure it will fit, try first, glue second. If all is perfect, glue the ribbon to that area where the ribbon overlaps on the hat break ribbon.
You can also glue the ribbon to the hat, but this is not necessary and will give you the ability to change out your ribbons.
Here is another fun and fashionable DIY from April Golightly.
Love this simple and easy yet fashionable!
This turned out fabulously. I want to make one now.
I really want to make one now! How cute!!
I love this idea, I would have never thought to do this with my hat!